I strive to repurpose as much as realistically possible. That means I take care to not to let the practice develop into a habit of hording, but I do put a much higher priority than most on how much space I allocate for material storage. Sometimes it’s not practical to reuse something until you’ve accumulated a certain amount. Today I finally began to use such an item that I have been collecting for a while. I’ll describe what went into this project step by step, but first heed this important disclaimer:
- Do not use these steps as your only source to attempt this project on your own, especially if you are an inexperienced DIYer. Although this project is very straightforward and suitable for a beginner, you must make sure that you are completely informed about the process of creating a candle and the materials involved because the use of the product poses a potential fire risk. Proper usage of candles should mitigate risks even if a product should fail, but all precautions should also be taken to prevent products from failing. More notes on safety will follow below in regards to specific steps and materials.
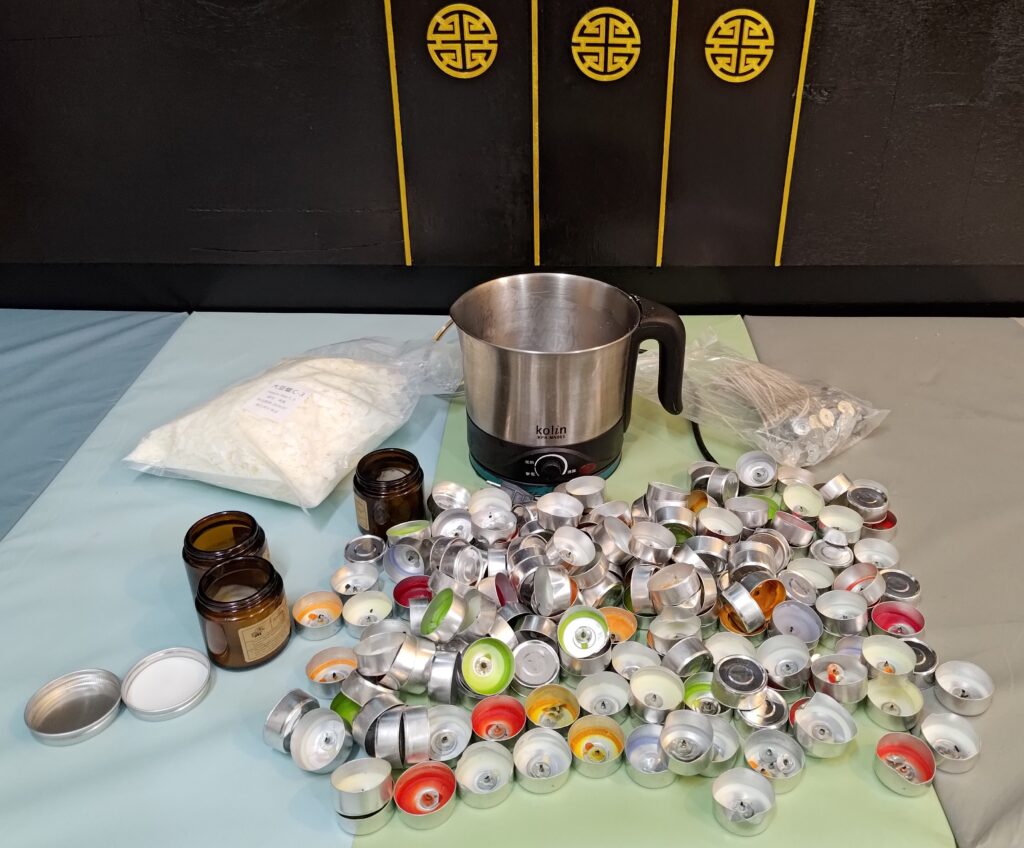
Candles are a fairly ubiquitous commodity, so it’s worthwhile to talk about how we can cut down on some of the waste that’s generated from their usage. In this project, I reused some jars that previously contained candles, tealight tins, and the metal wick bases from those candles. Many other types of containers can be used as well, but testing should always be done before leaving a new container or design lit unattended. Various types of food jars make good candidates as well.
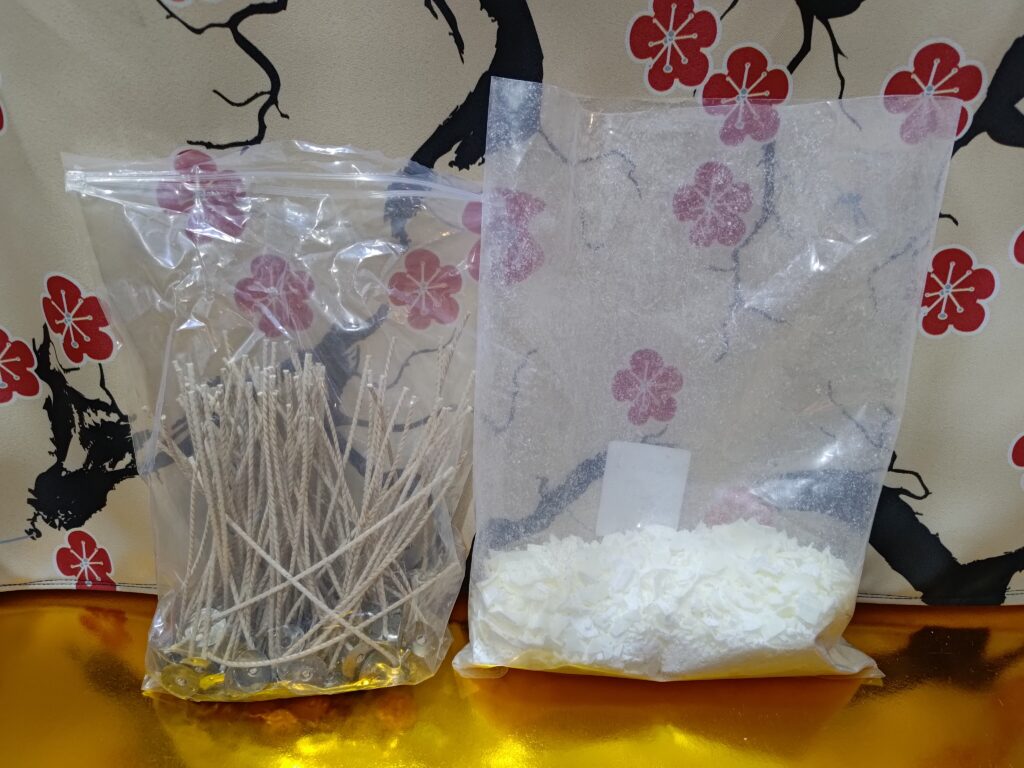
We’ll be mixing our left over wax from the jars and tealights with new wax. I purchased a soy wax blend, but there are many different blends among the various types of waxes out there, including paraffin and beeswax.

Suppliers will have varying methods for grading and identifying their wicks. Some are meant for specific blends of wax, as the melt points can be significantly different. The diameter that a wick can melt is a varying factor as well, so make sure that you purchase from a supplier that clearly identifies their products.
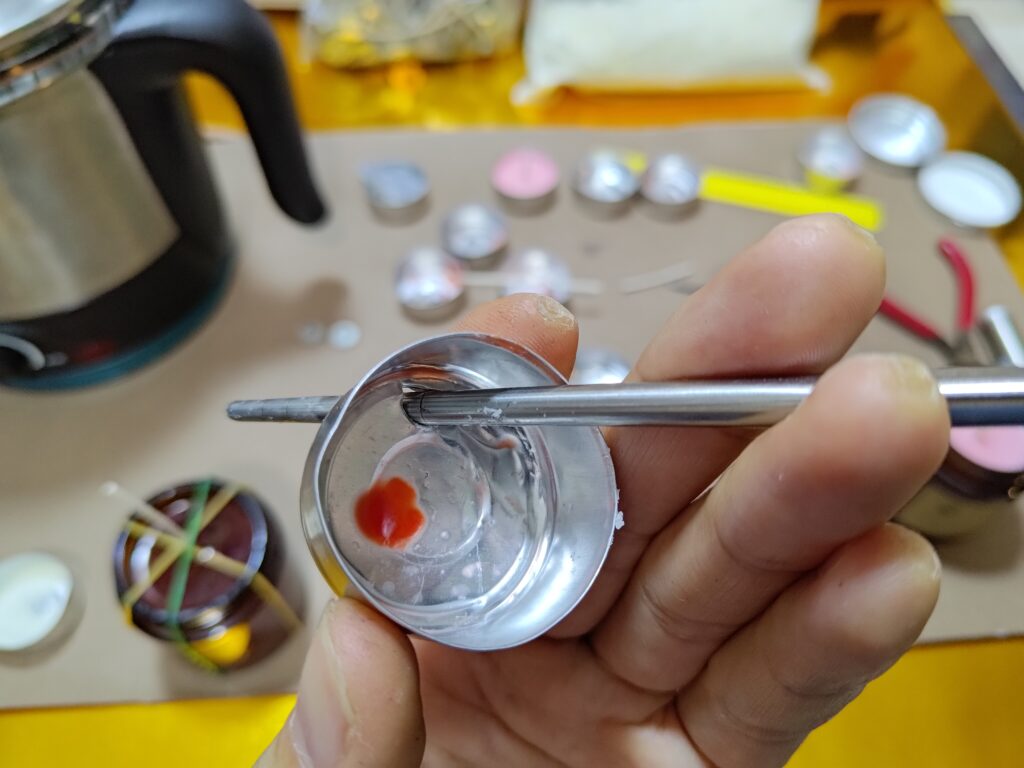
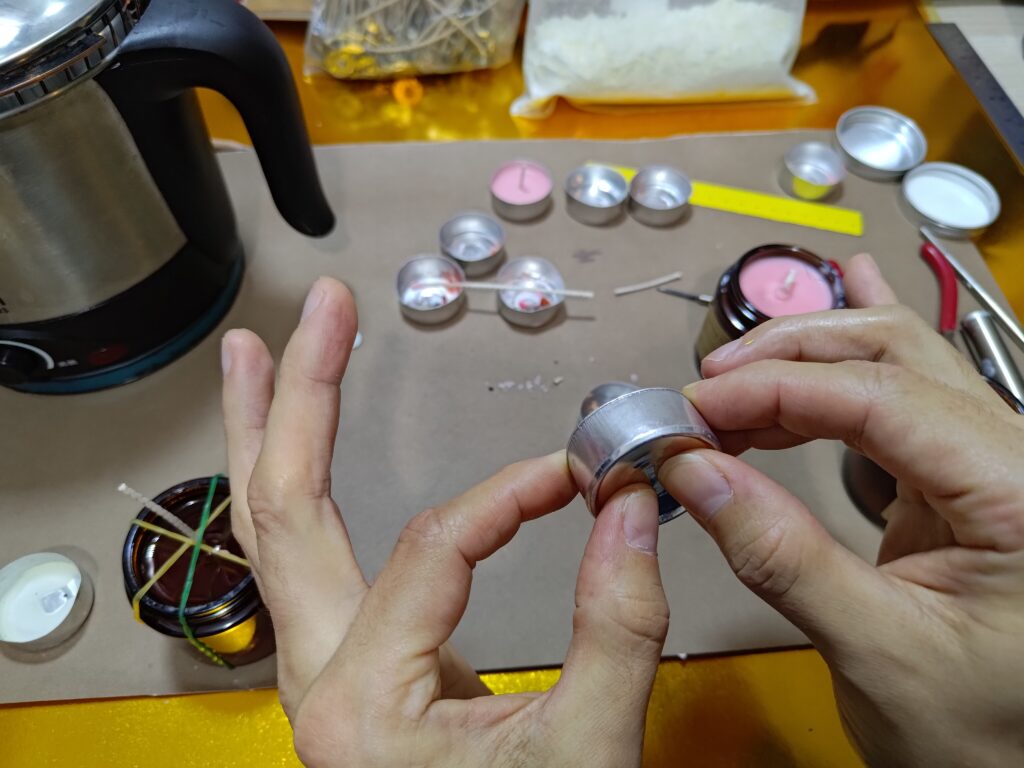
Jars can be scraped fairly rigorously to remove left over wax without fear of breaking the container, but the tealights are not so durable. Avoid poking and scraping them. Instead, gently finesse the tin, loosening up the sides, and push in on the bottom of the tin. If it doesn’t fall out entirely, it will at list have separated enough that you can extract it safely with an implement or tool of some sort.
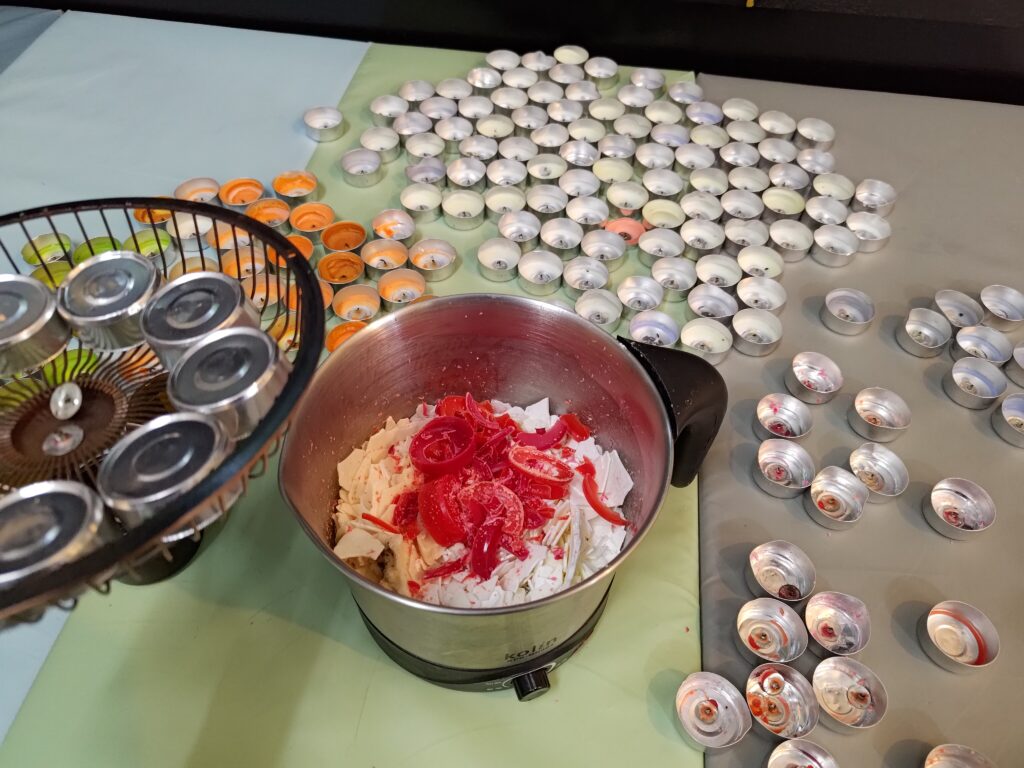
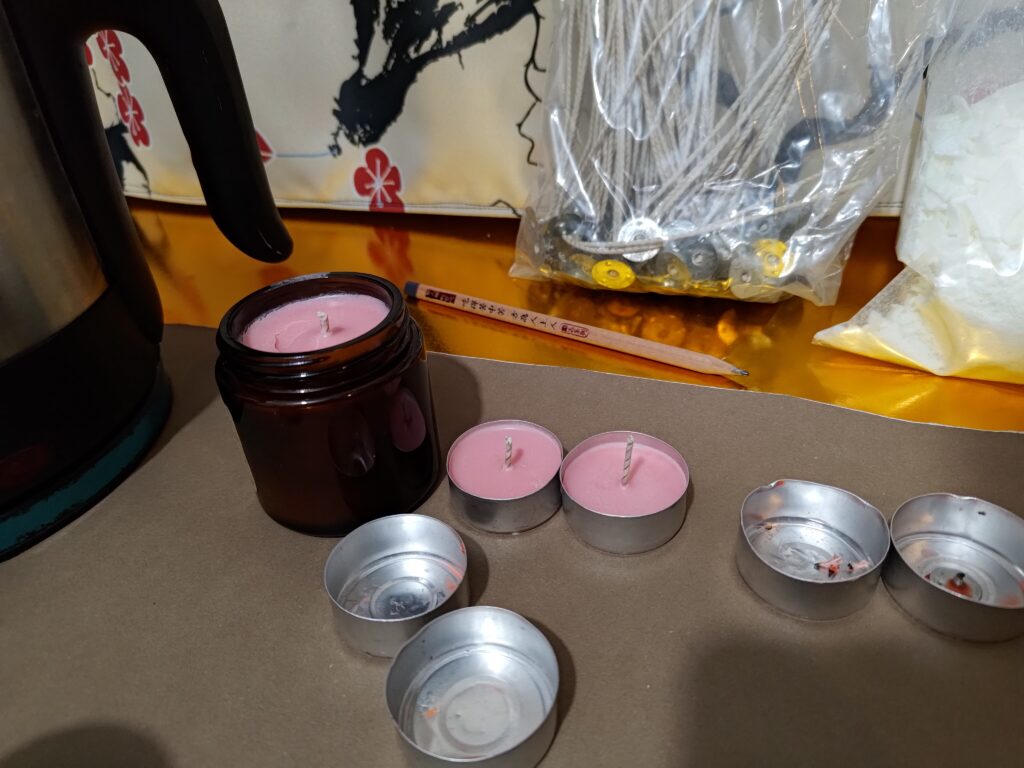
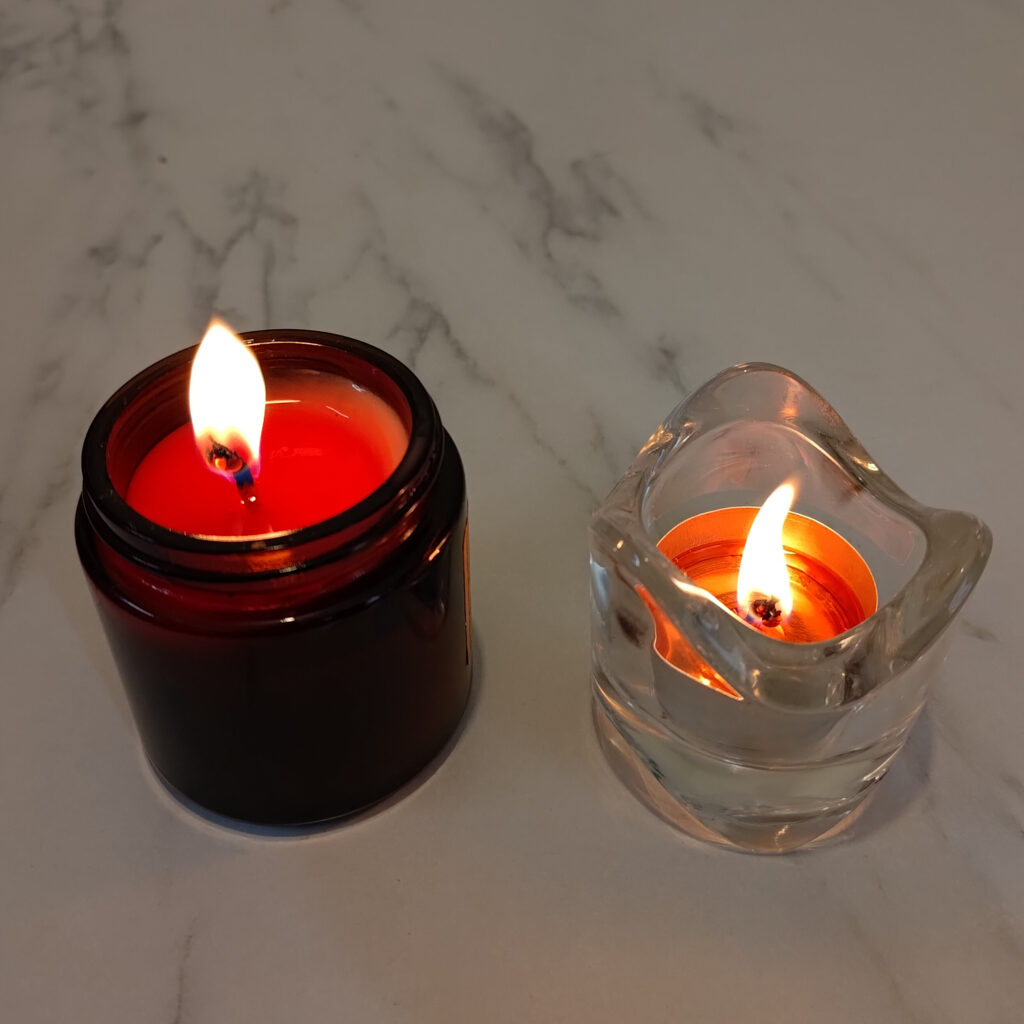
After separating your materials by color or fragrance and removing the wax from their containers, you can decide which to blend together. The red wax pictured here is raspberry scented, and I did not mix it with anything besides the new unscented wax. You can also choose to add essential or fragrance oils, but make sure you thoroughly read up on how to properly blend the oils and add them safely. Fragrance and essential oils have different flashpoints, and when working around heat or open flames, caution should be exercised. Oils can also only be added in certain volumes, as too much will cause the candle to be a sure fire hazard, potentially explosive even!

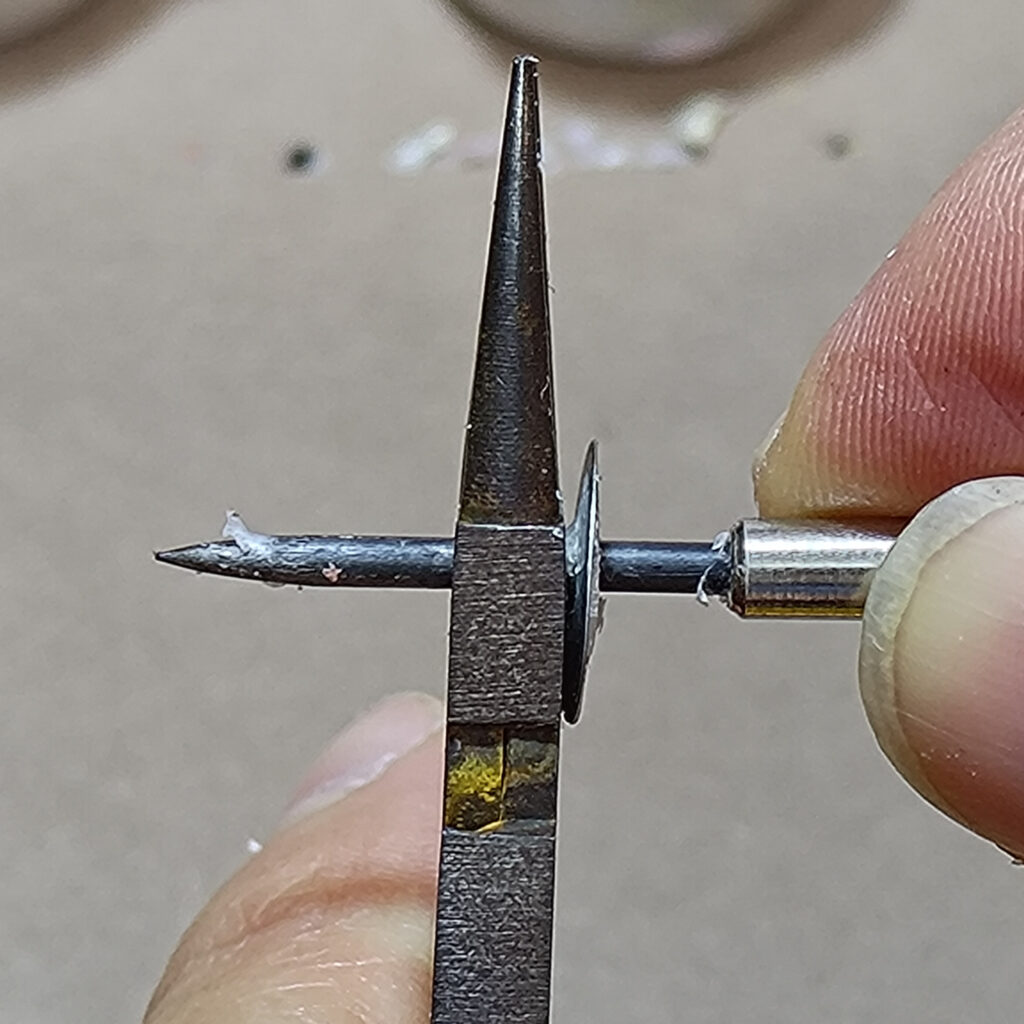
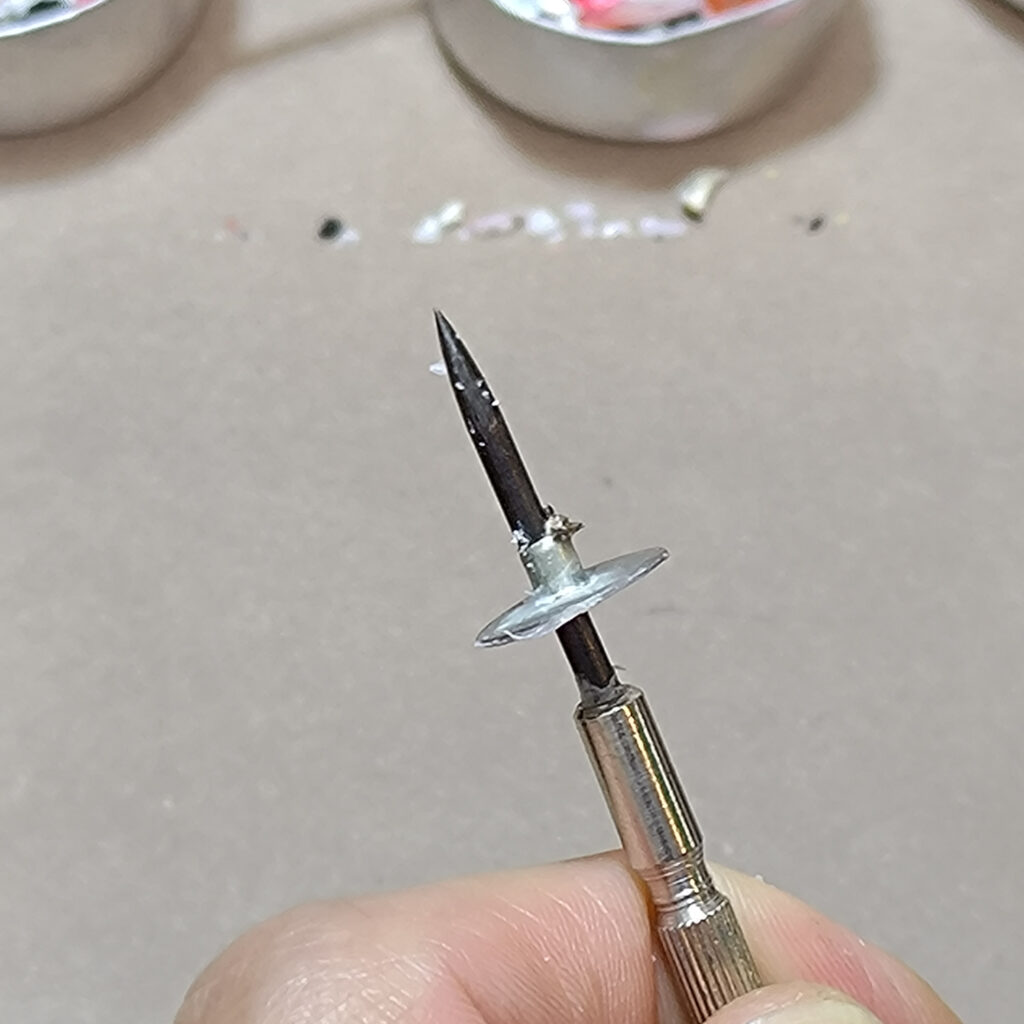
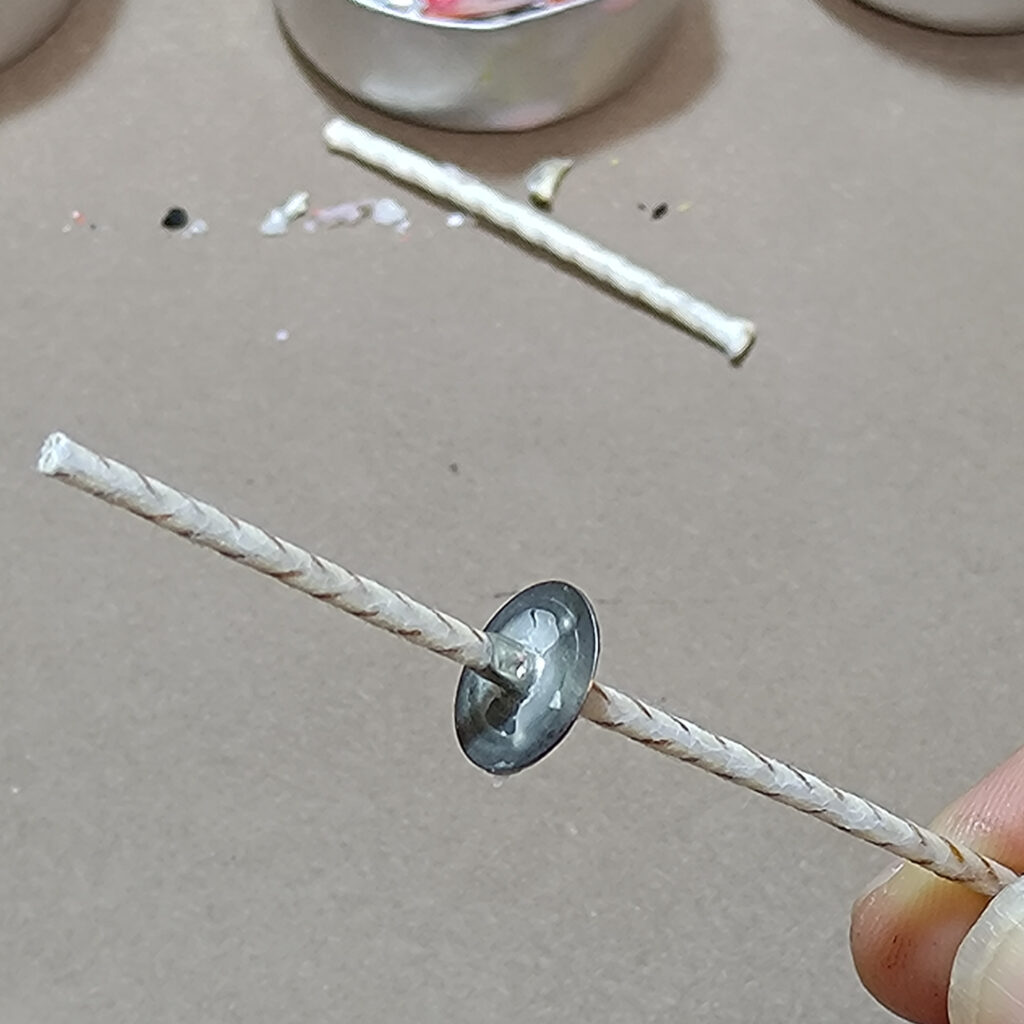
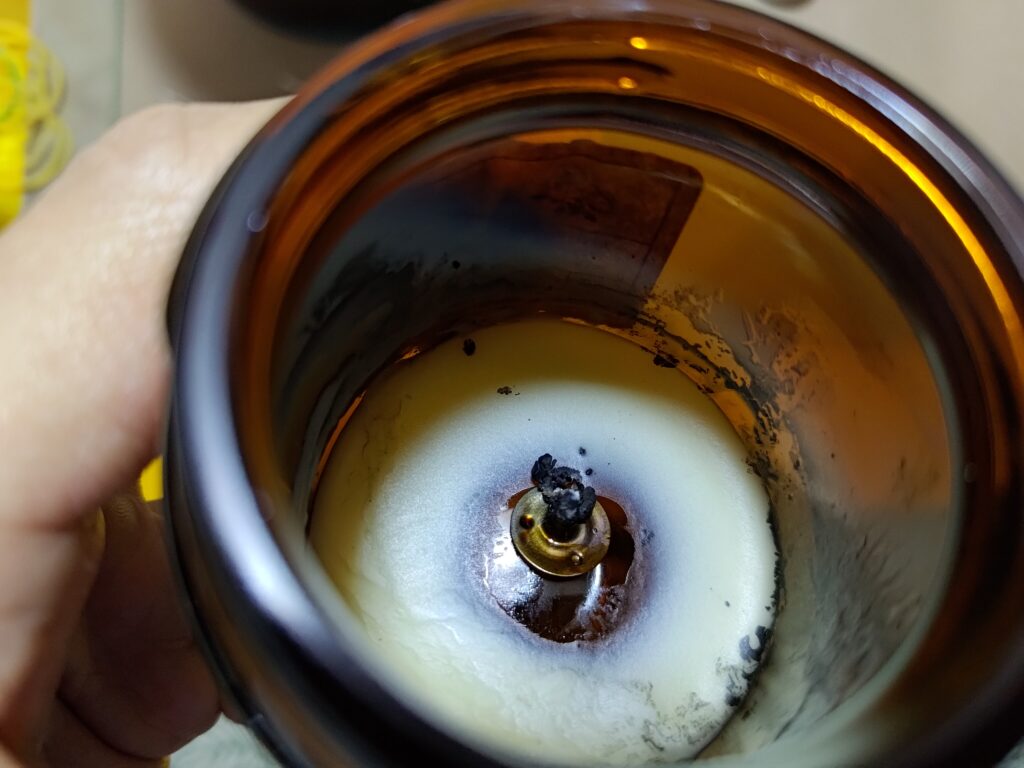
Wick bases are easily reused. Something sturdy, like an awl, screwdriver, or pin can be used to un-crimp the post. I used a pair of pliers to have something to push against. Then, you can insert your new wick and re-crimp it with a small pair of needle nose pliers.
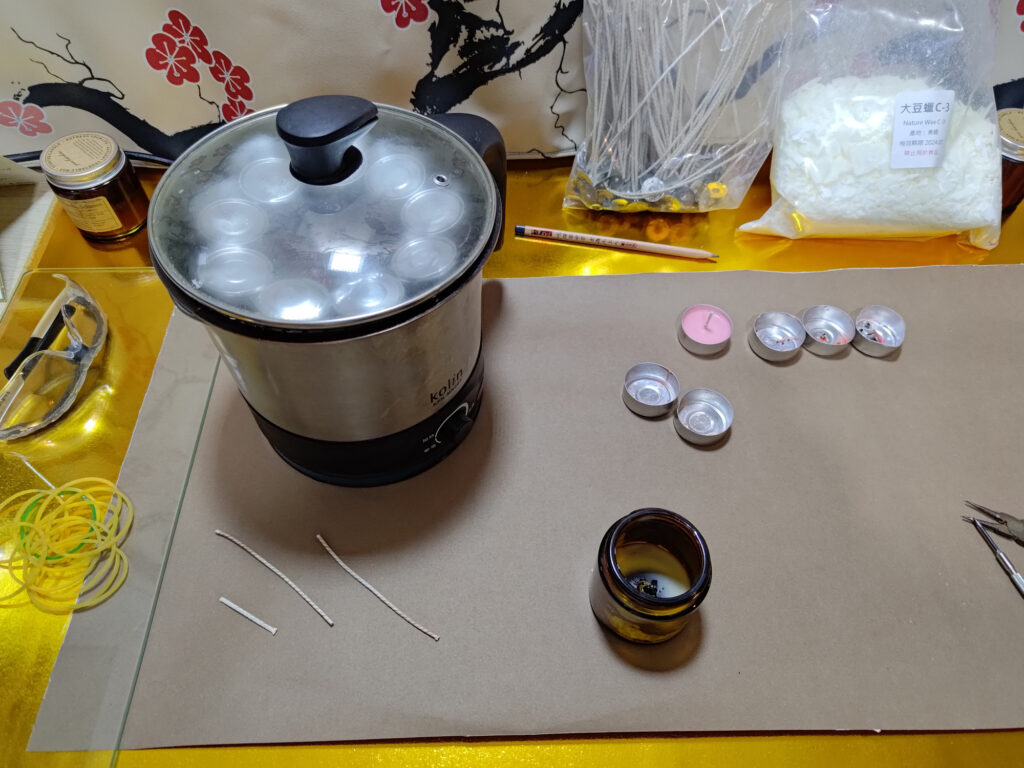
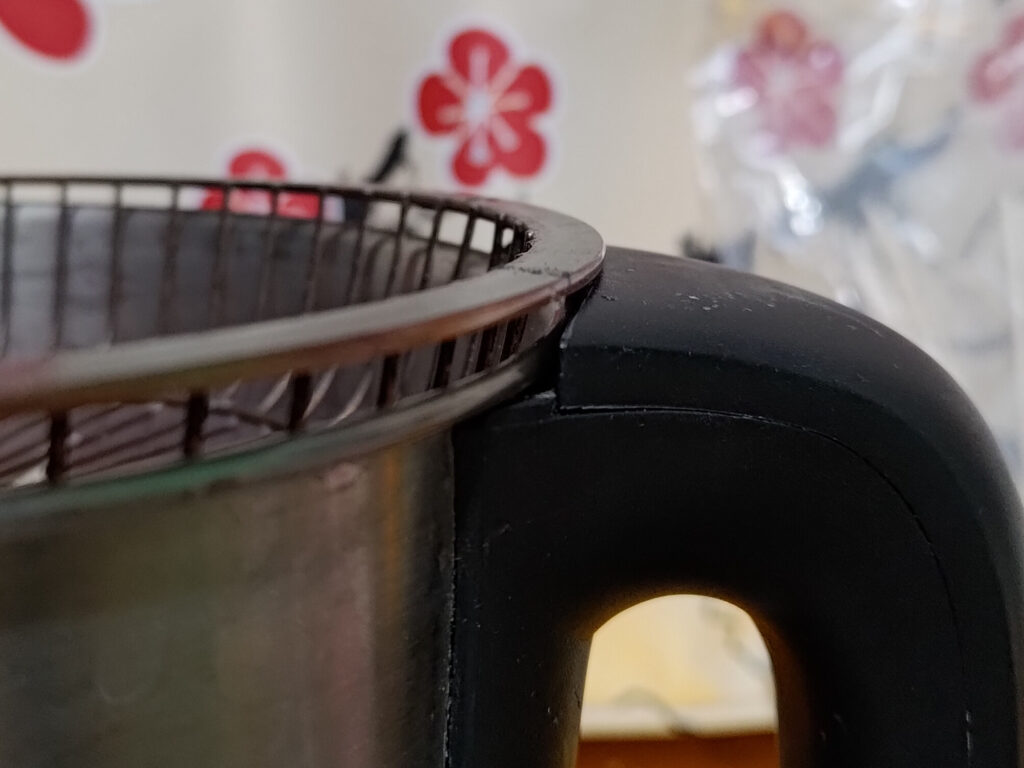
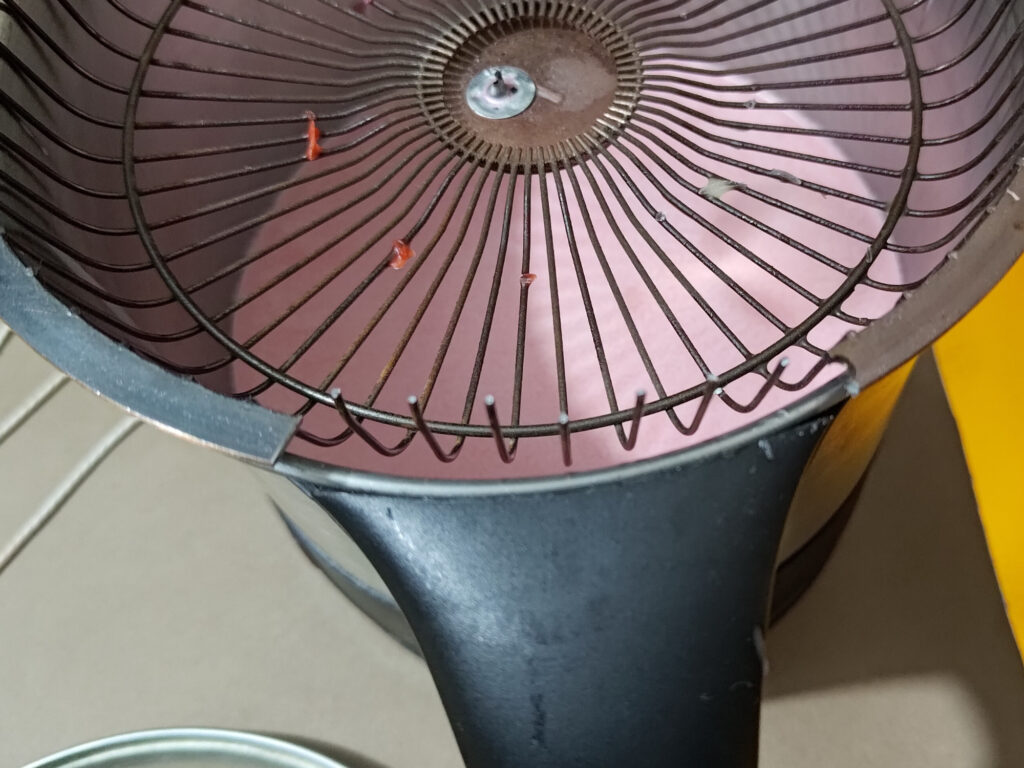
While melting the bulk of the wax, I suspended the tins within the pot to remove any traces of wax left behind. I had the grill from a small USB powered fan that I had disassembled, and the diameter fit perfectly! It only needed to be cleared a bit where the handle of the pot is, which was easily done with a cut-off wheel on my Dremel. In this instance, I used and electric pot, but there are other options for melting. In the past I made use of tea kettles, which could be obtained inexpensively second hand, especially if it looks a little worn. A kettle that is no longer suitable for boiling potable water may still be perfectly fine for melting wax. The spout makes pouring a lot easier too.
When pouring your wax, there are various optional steps you can take. For example, you can pour a shallow amount to get the base fixed in the center first. After waiting for the base layer to solidify, you can then add more liquid wax without worrying about the base shifting off from center. This is not always necessary however.
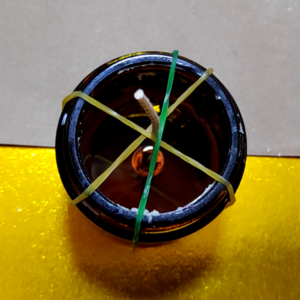
You can be creative with how you hold the wick at the top. These jars were relatively small, so rubber bands worked well. You could also place objects on top, like chopsticks, nails, pencils, etc…
If you have any questions or if you’d like to continue to see more of this project or topic in greater detail, I will have a forum up on this website very soon. Also, I will be posting links to the project videos once I finish editing and uploading them.
Thank you for reading my article. I’m look forward to getting any feedback you might have!